If you’ve followed along with Zerto: ZVM Installation, this entry is a continuation, and provides steps to deploying the Zerto Virtual Replication Appliances.
After installation has succeeded, open a browser, and connect to https://ZVMFQDN:9669/zvm.
Notes:
- If this VM lives in a protected network for management/utility servers, you might need to allow port 9669 from your local network to the network the ZVM lives in. The Zerto Standalone UI, vCenter Web Client, and vCenter C# client all use port 9669 to access the ZVM.
- Be sure to use a supported browser. Chrome, Firefox, and IE 11+ are recommended by Zerto.
- Log on using your vCenter credentials.
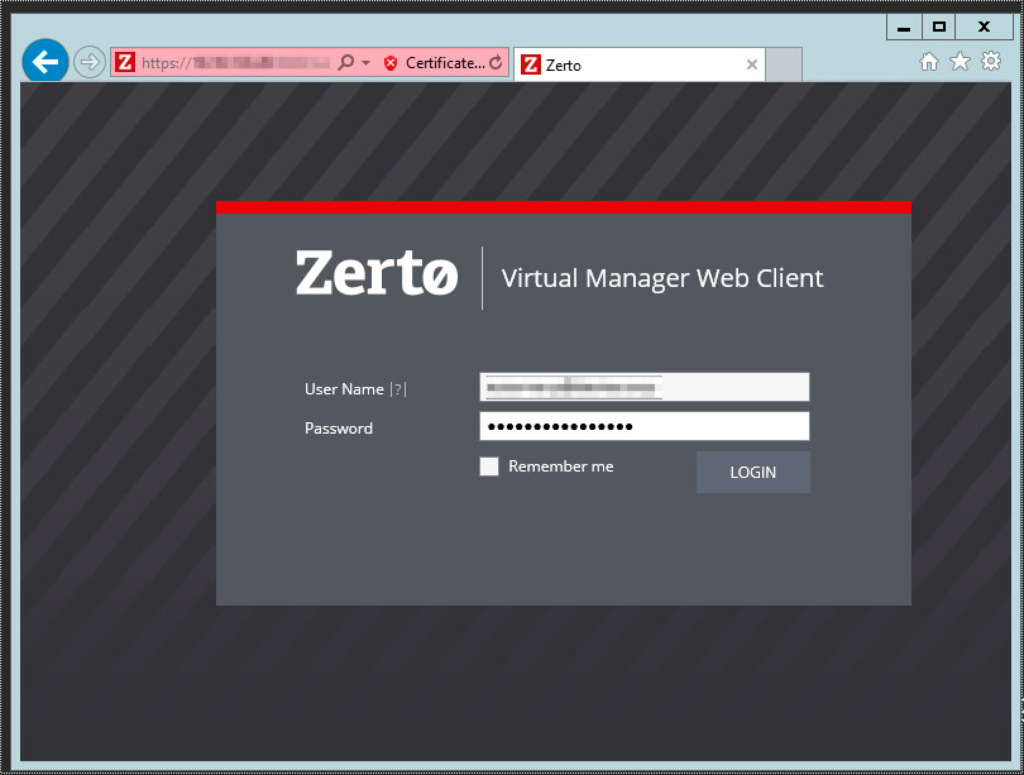
- Enter a license key and click Start.
After entering the license key and clicking start, you’re taken to the dashboard, however, before starting to protect VMs, the VRAs will need to be installed on the hosts in the site and pair the protected and recovery sites.
Install the VRAs
The Zerto installation includes the OVF template for VRAs. A VRA must be installed on every host that manages protected VMs in the protected site, and on every host that will manage VMs in the recovery site.
The VRA compresses data that is passed across the WAN from the protected to recovery site, and automatically adjusts the compression level according to the CPU usage, totally disabling it if required.
A VRA can manage a maximum of 1500 volumes, whether they are protected or not.
VRA Requirements
Each VRA must have:
- 12.5GB datastore space
- at least 1GB of reserved memory
- Each host installed to must be at least ESX/ESXi 4.0 U1 and have ports 22 and 443 enabled for the duration of the installation.
If you are installing to ESXi 5.5 or higher, the VRA should connect to the host with user credentials, otherwise, the password for the host root account is required. Because of the method used when the VRA connects to the host using a VIB (ESXi 5.5 or higher), it is not necessary to enter the root password.
During VRA deployment, you should have IP addresses reserved, as it is not recommended to use DHCP; so be sure to also have the information for the subnet mask, and default gateway.
If you do not have SSH enabled on your hosts, the ZVM will attempt to enable and disable it during the installation of the VRA.
Important: Do not snapshot a VRA, as it will cause problems with replication!  I actually
forgot to exclude the VRAs from backups, and CommVault attempted to back them up after I had
configured my first VPG, and I ended up having to re-deploy the VRAs.  My advice is to create a
folder for the VRAs in your vCenter folder structure and have that folder excluded from backups
altogether.  Don't forget to move the VRAs into the folder as soon as they're deployed.
Installation
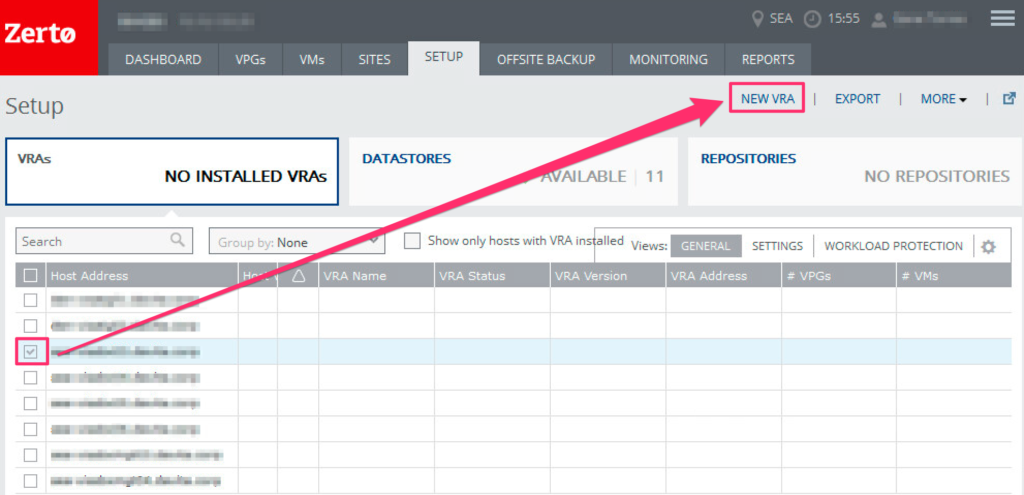
- Log in to the Zerto Manager UI
- Click on the Setup tab.

- Locate the host you want to deploy the VRA to, and check the box beside it. Once you have selected the host, click New VRA.
Note:  If you select multiple hosts, clicking the New VRA link
will only install on the first host that you have selected.
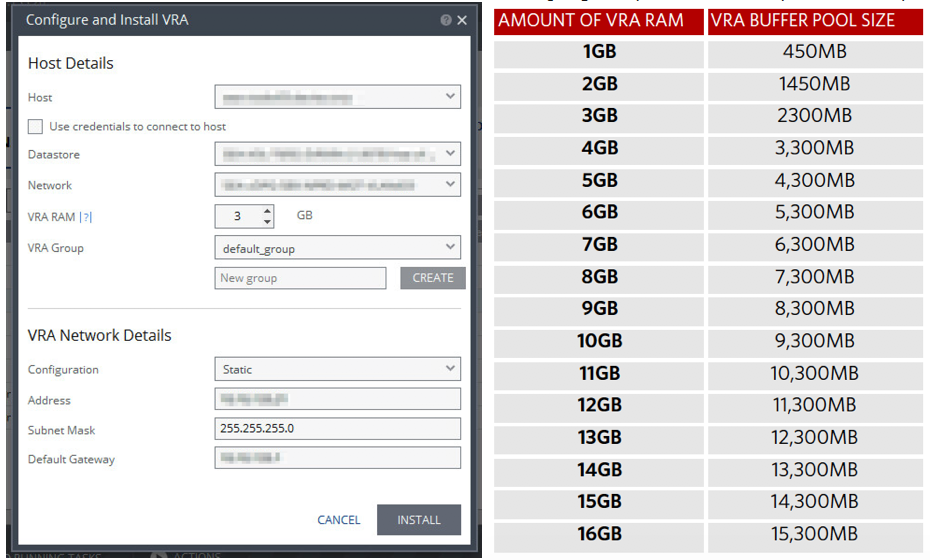
- Specify the host, datastore, network, RAM, group, and enter the network details, then click Install. Repeat the steps for each additional VRA you need to deploy (one per host).
Note: When you deploy a VRA, Zerto will automatically reserve the amount of
memory equal to what you specify in the VRA RAM settings.  This amount of RAM is the maximum buffer
size for the VRA that is used to buffer IOs written by the protected virtual machines before the
writes are sent over the network to the recovery VRA.  The recovery VRA also buffers incoming IOs
until they are written to the journal.  If a buffer becomes full, a Bitmap Sync is performed after
space is freed up in the buffer.
The protecting VRA can use up to 90% of its buffer for IOs to send to the recovery VRA, which can
use up to 75% of its buffer before it is full and requires a bitmap sync.
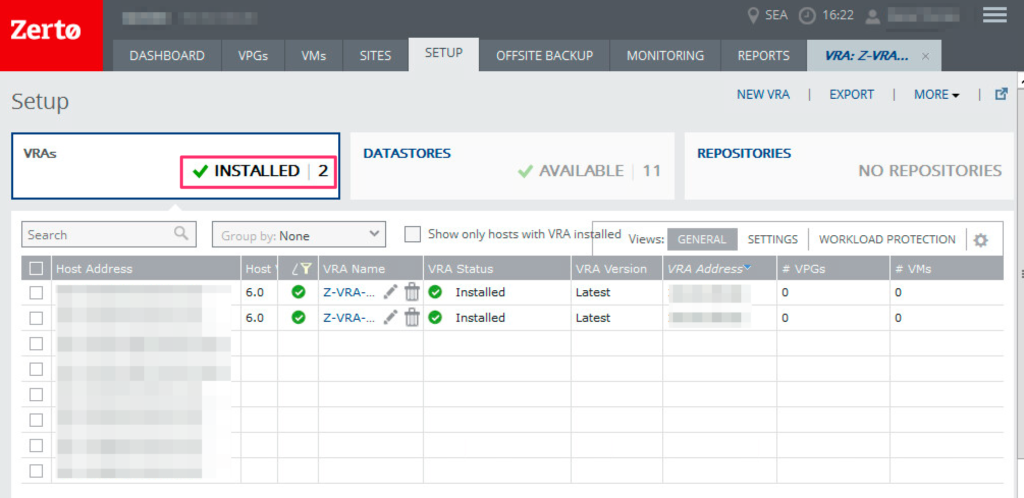
- After all VRA installations are completed, the setup tab will contain more information for each host that has a VRA installed.
Once you’ve completed these steps for each host requiring a VRA, you can create Virtual Protection Groups and start protecting your workloads.